What is the Roof Solar Panel Installation Process Like?
Are you interested in having solar panels installed on your home’s roof?
Using solar energy to power one’s home has only become more popular and affordable in the last several years. More homeowners than ever are considering solar power, either as a backup or as their primary source of electricity. It’s a wise choice that can elevate the property value and save you money on your utility bill.
Installing solar panels on roofs is a long and detailed process, however. From budgeting or getting a solar panels grant to hooking up the panels, it may seem like a daunting prospect. If you aren’t sure what to expect, getting solar panels might feel slightly intimidating.
Fortunately, upgrading your home to use solar energy doesn’t have to be that complicated.
When you work with a good solar company, getting solar panels on your roof is actually rather simple. You can sit back and relax while the pros take care of most of the details. Still, if you’re curious about the process that goes into installing solar panels, this article may help answer your questions.
Keep reading to find out what exactly goes into getting solar panels installed.
Why Installing Solar Panels on Roofs is Best
Solar panels have PV cells, or photovoltaic cells, inside them. These cells are what allows a solar panel to do its job, as they capture sunlight and convert its energy into DC voltage. This is the power that gets used as electricity in your home or stored in batteries for later use.
If you’ve ever seen a solar farm, you know solar panels don’t always have to get installed on rooftops. Large patches of ground with lots of direct sunlight can work nearly as well as rooftops for running solar panels. But rooftops are usually the most practical places for solar panels.
Your roof probably receives a lot of direct sunlight without anything blocking it unless you live in a heavily wooded area. Just as importantly, roofs are sturdy and far away from the ground, where animals or passers-by might accidentally damage the solar cells. All the incentives that are available can help mitigate solar panel installation costs, but you still don’t want a costly repair job on your hands because your panels were in a vulnerable position.
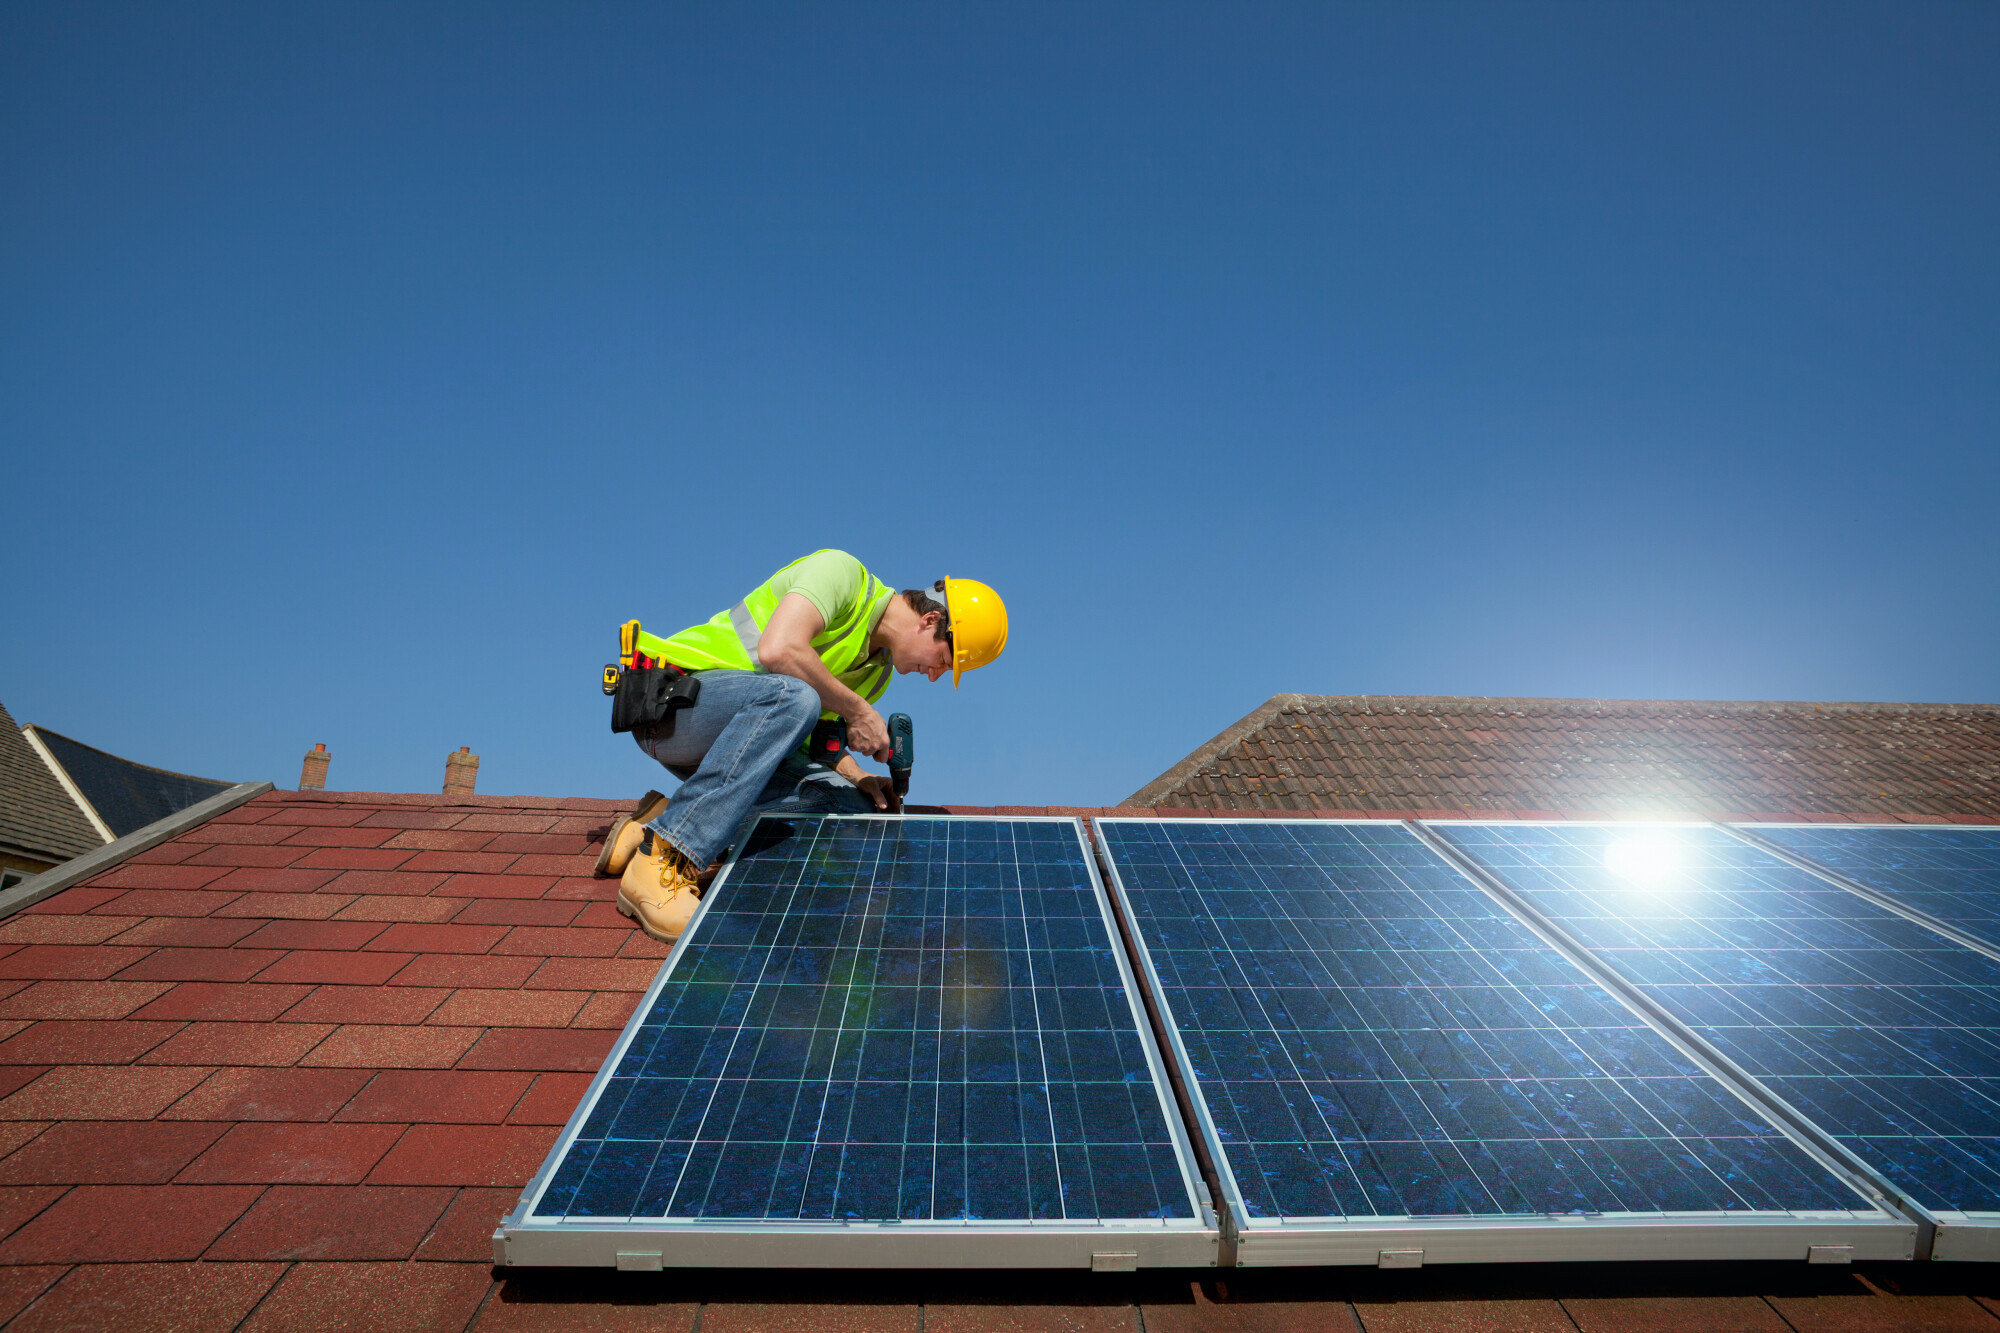
How to Install Solar Panels, Step-by-Step
Solar companies attach panels to the roof using giant bolts that hold them in place. Let’s take an in-depth look at how to install solar panels on a roof.
Determine Where to Place Solar Mounting Brackets
The first step a solar company will take in upgrading your home with solar power is conducting a site survey. They will gather measurements from around your house and ensure solar panels are a viable choice for your home. Next, official CAD design will be completed and approved by an engineer.
Next, the solar panel installers will need to figure out where to place the solar mounting brackets on your roof.
The solar mounting brackets are mountings that hold the panels in place, and they look like enormous screws. They are very durable because they must be able to withstand upforce—strong gusts of wind that could rip solar panels off a roof.
Solar mounting brackets must get fastened to the rafters under the roof. Installers will use either a stud finding device or the home’s blueprint to figure out where the rafters are. They must place the brackets at least four feet apart from one another.
Once installers know where to put the solar mounting brackets, they can fasten them to the roof using screws.
Thermoseal and Secure the Mounting Brackets
To secure the solar mounting brackets to the roof, the installers will drill holes carefully into the rafters. Then they will fasten them down with screws, as mentioned earlier.
Before sealing the screws, they will need to attach the upper and lower aluminum rails that will hold the solar panels to the mounting brackets. They should use an impact driver to fasten the bolts for maximum tightness.
Next, the screws that hold the brackets to the rafters must be thermo-sealed. This will prevent rain from leaking in through the screw holes in the roof.
Measure and Set Up Rails
The next step is to measure the upper and lower rails to make sure they’re an even width apart along the entire roof. To ensure these rails are square, the installers will run a measuring tape from the upper corner of one rail to the lower opposite corner of the other. This will need to get done from both sides.
If the measuring tape indicates that the two lengths are exactly equal, that means the rails are square and work may continue. If there’s any difference in lengths, the top and bottom rails will need readjustment.
Once the two rails are perfectly parallel, a third rail will be installed in the middle between them. It should align perfectly with the upper and lower rails.
Set Up Your Power System and Connect Panels
This is the step that will bring power to your solar panels. To do it, installers will need to run wires from the solar panels to the power inverter kits, creating conductor systems. There will be one power inverter kit installed underneath each individual panel.
Next, some 6-gauge copper grounding wire will be installed onto the converters to complete the conductor systems. These wires will need to connect each solar array together.
Install Solar Panels
Last of all, the solar panels themselves are finally ready to be installed on the roof. They will be placed upon the stanchions with retaining clips screwed into the rails to keep them secure. The plug connections between the panels will need to be joined as well.
Although this is the last step in installing solar panels on one’s roof, it’s just the beginning of the electrical work that will have to get done. The team of installers and electricians will set up an electrical meter to connect your solar panels to. They will also need to connect the wires to an electrical sub-panel.
Some electrical upgrades may be necessary to finish setting up the new solar panel system. It’s worth noting here that you will want to find a solar company that works with licensed electricians to provide their services. Some solar panel companies subcontract parts of the work to other services, leading to uncertain results.
Once your installers finish this process, you’ll be able to say goodbye to your electrical bill for good and enjoy natural, renewable energy from now on.
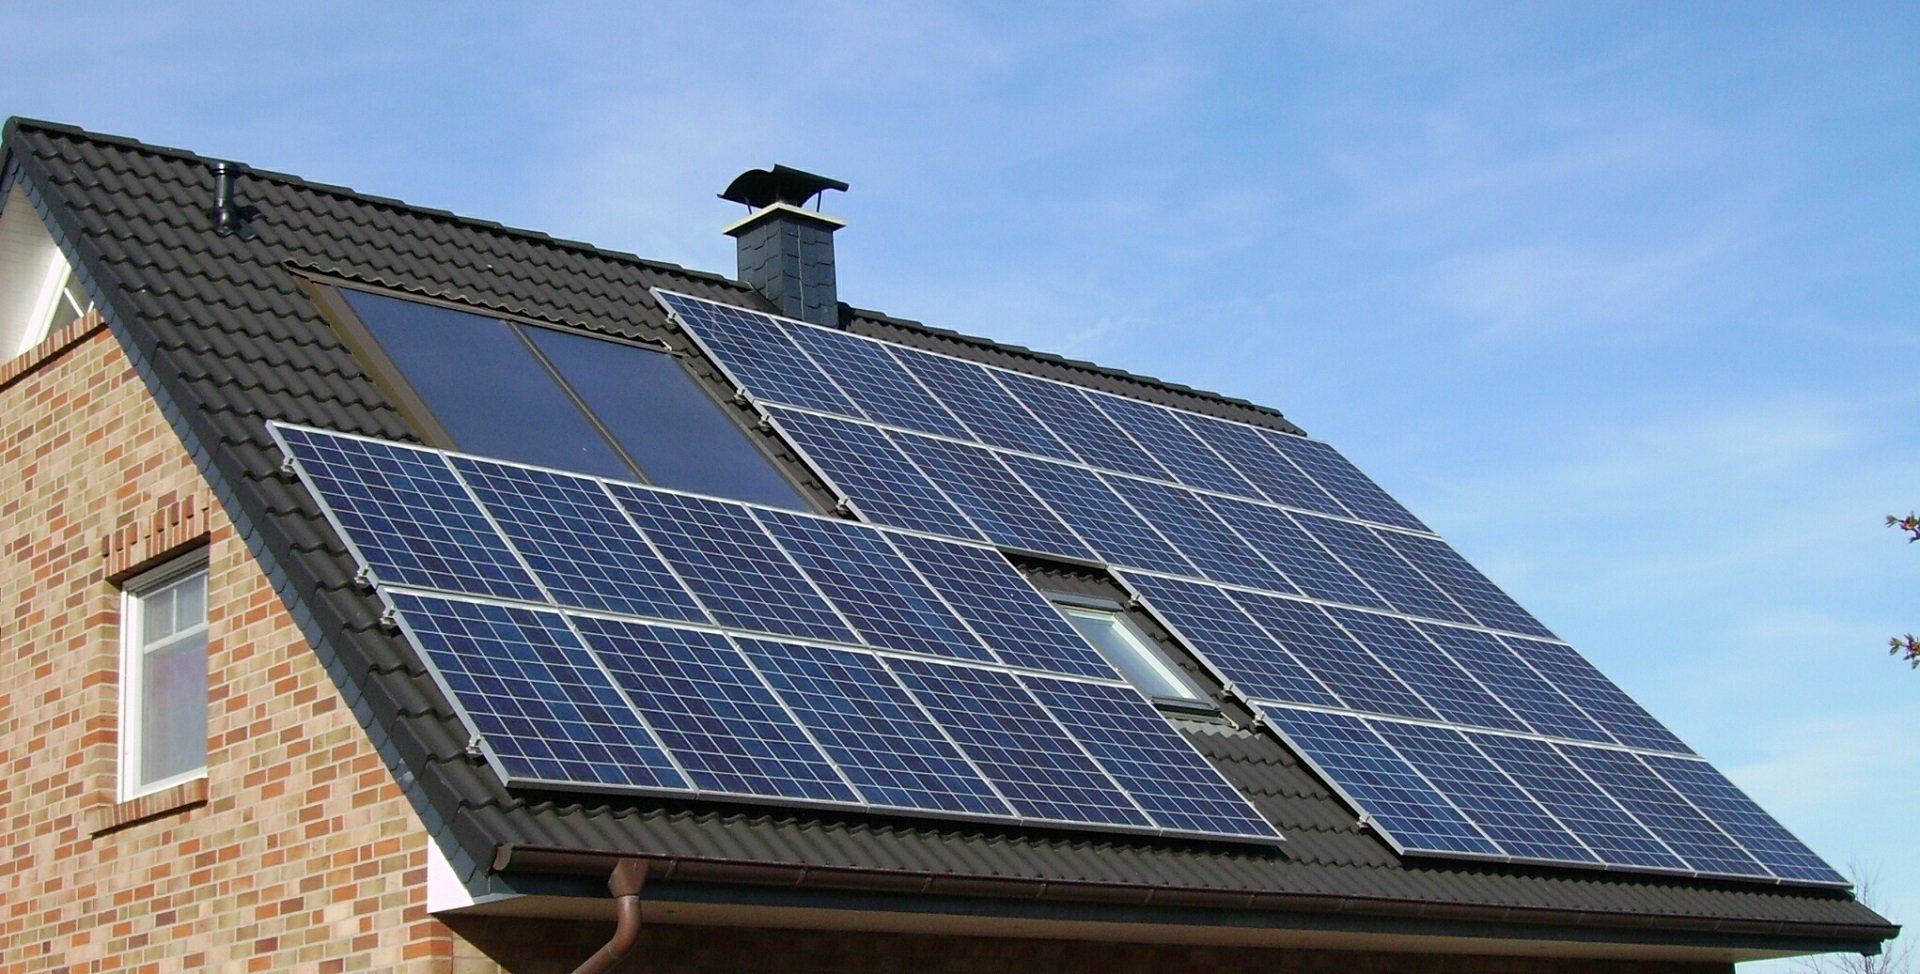
How to Adjust Panels for Different Roof Types
The process we described above refers specifically to installing solar panels on a standard shingle roof. For different types of roofs, the solar panel installers will have to take different steps. We’ll discuss what some of those are next.
Tile Roofs
In order to attach solar panels to a tile roof, installers will have to remove some of the tiles beforehand. Tile hooks with flashings will get installed on the roof to hold the panels. Afterward, the tiles the installers removed can be replaced around the new mountings.
For Spanish-style tile roofs, it’s almost certain that some tiles will be broken in the process of solar panel installation. It’s nearly impossible to walk on a Spanish roof without breaking a few tiles, although your installation crew will take care to do as little damage as possible. This can make solar panel installation more costly for Spanish roofs.
Metal Roofs
Standing-seam metal roofs are excellent settings for home solar panel installation. Drilling holes into the rafters beneath the roof is completely unnecessary because mounting clamps can be fastened to the standing seam.
Another advantage of metal roofing for solar panels is that they provide lots of empty space under the array for air to circulate. This results in more efficient performance from the panels.
Wood Shake Roofs
Wood shake roofs are stylish and decorative, making them an excellent option for people who want a unique-looking home. Unfortunately, they’re less ideal for installing solar panels because the wood pieces they’re made of are usually brittle. However, with the right precautions, it can still be done.
Despite wood shake’s brittleness, the good news is that solar panel installation on a wood shake roof is very simple. Solar panel mounts can be secured underneath one layer of the shake roof, and the panels can be easily attached to the mounts from there.
Get Solar Panels on Your Roof With Skyline Solar Power
Now you know the steps involved in installing solar panels on roofs like yours.
As you can see, solar panel companies can customize panels to fit virtually any home, whether you have a shingle or tile roof. Not only that but with current government incentives, it’s never been a better time to start using solar energy. When you work with Skyline Solar Power, you can start benefiting from solar soon while minimizing solar panel costs.
Get started with our custom quote tool right now to see how easy it can be to get solar panels installed on your roof.